A short film about professional lawn care:
This is not rocket science. This is patented professional lawn care. Three minutes and twenty seconds about just another day with the MowFleet system.
This is not rocket science. This is patented professional lawn care. Three minutes and twenty seconds about just another day with the MowFleet system.
This is what’s happening before the robots get to work. It’s also the answer to the question ’How do we get grid-independent?’

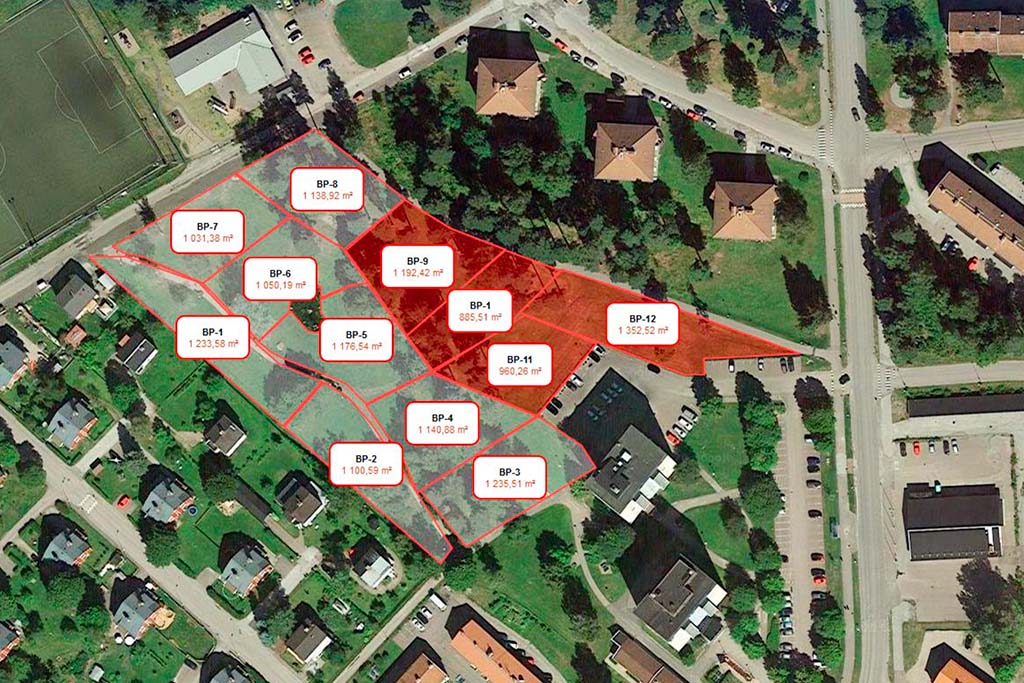
First, we carefully evaluate a map of all the green spaces the system will mow. These spaces will be divided into zones. A zone is equal to the robot’s capacity during one work shift (up to 10 hours without charging). We recommend that a zone gets mowed once per week, for a better result. Every new day, the robots are moved to new zones, hereby utilizing their full capacity.

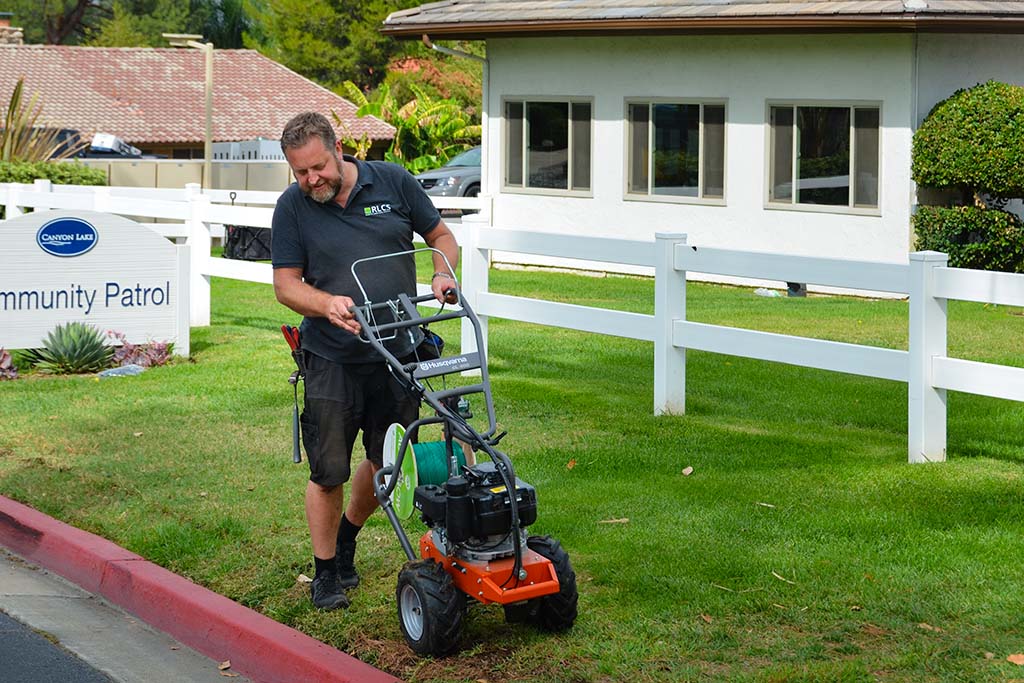
Next, we install the guides, using an underground cable-laying machine . The machine will cut a narrow groove about 2 inches deep into the grass. The same machine carries a large roll of cable (look closely, and you’ll see a white reel with a green cable). Looks like marking the lines on a tennis court, right? In every corner, a small staple is secured to the ground. It’s simple, and it works like a charm.

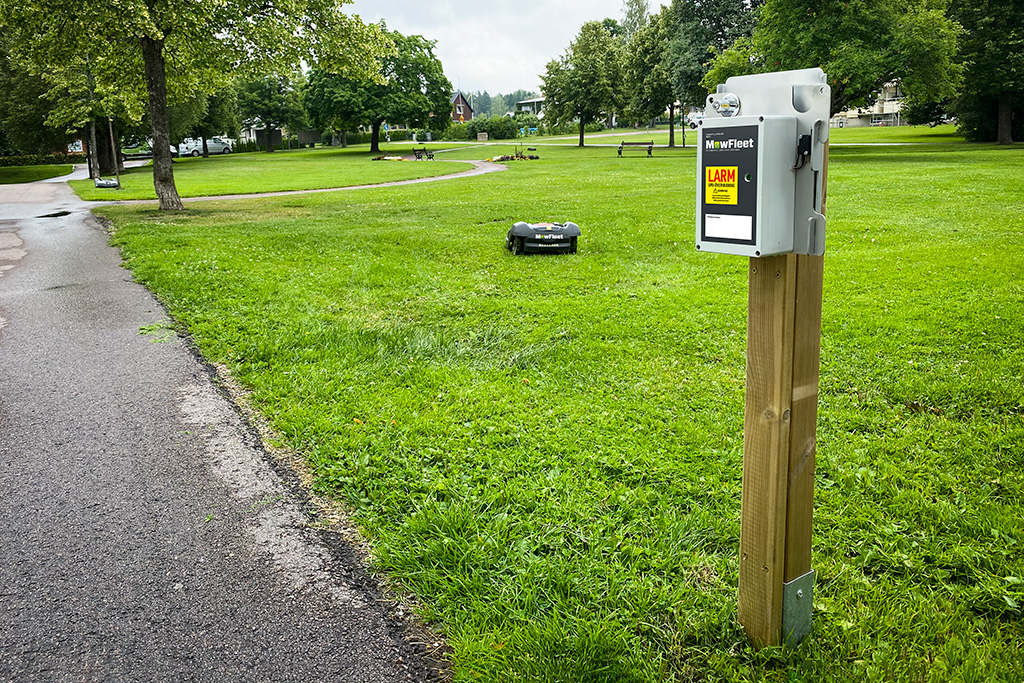
No electricity is needed for the areas being mowed. To define each zone, a cable is connected to a base plate. A battery-powered base unit is then connected to each zone, sending a low voltage signal through the cable. At the beginning of each session, the operator will pair the base unit with a MowFleet robot, just like any stationary robot would be paired with its charger.

The ideal MowFleet installation consists of 10-12 robots. A dozen robots have the capacity to mow up to 168 zones if operating in double shifts during a seven-day week. Most users will operate the robots only at daytime on workdays, charging the robots and base units overnight. If needed, the robots are ready to go back to work after only a 90-minute charge, making double shifts an option.
Robotic Lawn Care Systems USA, Inc.
1209 Orange Street, City of Wilmington
County of New Castle, Delaware 19801
Business hours: Mon – Fri 8 am – 5 pm
Phone: +46 702 21 16 41
hello@mowfleet.com
Contact us >>
© 2022 All rights reserved